Have you ever wondered how to solder effectively? While it may seem like a simple process, soldering requires precision, technique, and the right tools to achieve flawless results. Whether you're making small electronic repairs or working on more complex projects, mastering the art of soldering is an essential skill for any DIY enthusiast or professional.
In this guide, we'll take you step-by-step through everything you need to know to achieve perfect soldering, from equipment preparation to more advanced techniques. Get ready to discover the secrets that will make you a soldering expert!
Introduction to Tin Soldering
Soldering is an essential technique in the world of electronics and repair, used to create strong and long-lasting electrical connections. Knowing how to solder properly not only allows you to carry out effective repairs, but also opens the door to a wide range of DIY projects, from creating electronic circuits to repairing cables and electrical components.
Known for its low melting point and ability to flow easily, tin is an ideal material for soldering, especially when working with delicate components. Learning how to solder tin efficiently is an invaluable skill for any hobbyist or professional looking to perform precise, high-quality soldering work.
Tools and Materials Needed for Soldering Tin
Before you begin learning how to solder, it is crucial to have the right tools and materials to ensure an efficient and safe soldering process. Here is a list of the essential items you will need:
- Welder: A soldering iron is the primary tool used to heat tin and bond it to metal components. Soldering irons come in different types and wattages, so it's important to choose one that's suitable for the type of work you're going to do.
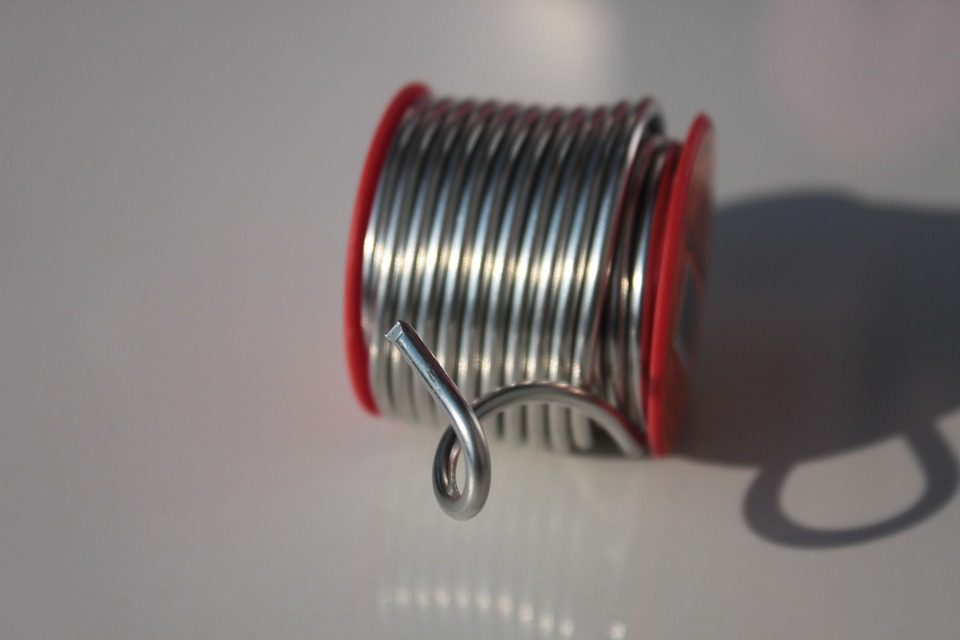
- Soldering Tin: Tin is the material that is melted to create solder. It is advisable to use tin with a resin core (flux) to facilitate fluidity and improve the quality of the solder.
- Flux: Flux is a chemical substance that helps clean and prepare metal surfaces before soldering. This ensures better adhesion of the tin and prevents oxidation.
- Soldering Iron Stand: A secure stand to place the soldering iron on while not in use is essential to prevent accidents and keep the work area organized.
- Smoke Extractor: During welding, fumes are generated that can be harmful if inhaled. A fume extractor helps keep the air clean and safe while you work.
- Tweezers or Third Hand Support: These tools allow you to hold work pieces in place, leaving your hands free to manipulate the soldering iron and tin.
- Welder Cleaner: A tip cleaner is necessary to keep the soldering iron in good condition and ensure that the tip is free of residue that can affect the soldering.
Having these tools and materials on hand will allow you to perform soldering jobs with greater precision and safety, ensuring that figuring out how to solder is as efficient as possible.

Preparation Before Welding
Before you start applying the technique of how to solder, it is essential to carry out adequate preparation to ensure that the process is smooth and the final result is of high quality. Here are some key steps for preparation:
- Surface Cleaning: Make sure the surfaces you are going to solder are completely clean. Any traces of rust, dirt or grease can prevent the tin from adhering properly. Use isopropyl alcohol or a specific cleaner to remove any impurities.
- Welder Preparation: Turn on the soldering iron and allow it to reach the proper temperature before you begin. A very hot tip will allow the solder to melt quickly and distribute evenly. Clean the soldering iron tip with a damp sponge or tip cleaner to ensure it is free of residue.
- Application of Flux: Apply a small amount of flux to the metal surfaces you are soldering. This will help clean the areas and improve the adhesion of the tin. Be sure not to use too much, as flux can leave residue that will affect the soldering if not cleaned properly.
- Positioning of the Parts: Place the parts you are going to solder in the correct position. If necessary, use tweezers or a third hand holder to hold them steady while you apply the solder. Good positioning is crucial to achieving accurate soldering and avoiding errors during the process.
- Security Check: Make sure the work area is well ventilated and all safety equipment, such as gloves and protective eyewear, is in place. Safety is a priority when working with hot tools and chemicals.
By following these preparation steps, you will be ready to begin applying the techniques of how to solder tin, guaranteeing a clean, safe and long-lasting result.
Step by Step: How to Solder Tin Correctly
Knowing how to solder properly is essential to achieving strong, long-lasting connections. Below is a detailed step-by-step guide that will guide you through the soldering process:
- Heat the Soldering Iron: Before you begin, make sure your soldering iron is fully heated. This usually takes a few minutes, depending on the model. A properly heated soldering iron will allow the solder to melt and flow easily.
- Apply the Flux: If you didn't apply flux during preparation, do so now. Place a small amount of flux on the surfaces you're going to solder. This will help the tin adhere better and prevent oxidation.
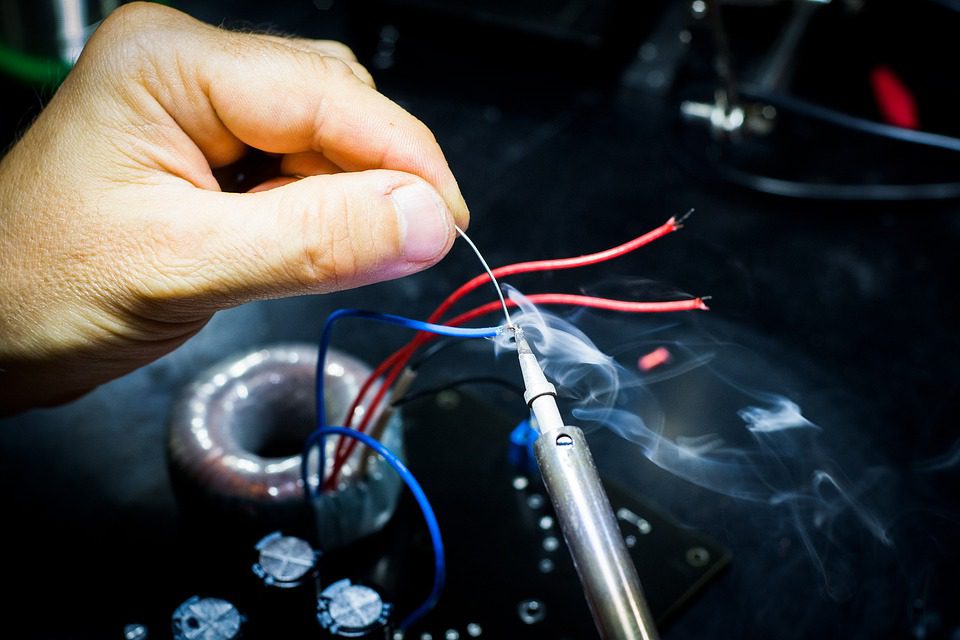
- Heat the Pieces to be Soldered: Place the tip of the soldering iron on the pieces you are joining and heat them for a few seconds. It is important to heat the pieces and not the solder directly, as this ensures that the solder melts on the metal and not just on the tip of the soldering iron.
- Apply the Tin: While keeping the soldering iron tip in contact with the parts, bring the solder wire close to the joint. The solder should melt when it hits the hot surface and flow into the joint. Be sure to apply just the right amount of solder; too much can cause a weak joint, and too little may not adequately cover the surface.
- Remove the Soldering Iron: Once the solder has flowed and coated the joint, remove the soldering iron and allow the solder to cool without moving the pieces. Moving the pieces before the solder solidifies may result in a weak or faulty solder.
- Inspect the weld: After the weld has cooled, inspect it to make sure it is smooth and shiny. A well-made weld should look uniform and be well adhered to both pieces.
- Final cleaning: If you have used flux, clean any solder residue with a specific cleaner or isopropyl alcohol. This will prevent corrosion and keep the solder in good condition.
By following these steps, you will be able to master how to solder tin effectively, ensuring a clean and strong solder on all your projects.
Common Mistakes When Soldering and How to Avoid Them
When learning how to solder tin, it's normal to make some mistakes at the beginning. However, knowing the common mistakes and how to avoid them can save you time and ensure a high-quality result. Here are some of the most common mistakes and how you can prevent them:
- Not Properly Heating Parts: One of the most common mistakes is not heating the parts sufficiently before applying the solder. This can lead to weak solder that does not adhere properly to the metal. Always make sure that the parts are very hot before applying the solder.
- Apply Tin Directly to the Soldering Iron Tip: Many people make the mistake of melting the solder directly on the tip of the soldering iron instead of on the heated parts. This can result in brittle solder that does not provide a solid connection. Make sure you apply the solder to the joint, not the tip of the soldering iron.
- Insufficient or Excessive Use of Tin: Finding the right balance in the amount of tin is key. Using too little tin can leave parts of the joint uncovered, while using too much can cause solder bridges that could create shorts. Practice to get the amount of tin just right.
- Moving Welds: Moving parts before the solder has completely cooled can cause brittle, fragile solders. Allow the solder to cool completely before handling parts.
- Ignore Cleaning:Not cleaning the surfaces or the soldering iron can lead to a poor, impure solder. Always clean the surfaces before soldering and keep the soldering iron tip clean during the process.
Avoiding these mistakes will help you improve your soldering skills and achieve high-quality solders on all your projects.
Perez Precision Works to the Rescue
Do you have questions about soldering or need assistance with a soldering project? At Perez Precision Works, we are here to help. Our team of experts is ready to offer you the advice and support you need to successfully complete your soldering projects.
Contact us now and receive personalized guidance to solve any welding challenge you may face.

Tips for a Clean and Long-Lasting Weld
Achieving a clean and long-lasting solder is the ultimate goal of any soldering process. Here are some practical tips to ensure your solders are always of the highest quality:
- Use Good Quality Tin: The quality of the solder you use has a direct impact on the soldering result. Opt for high-quality solder with a rosin core (flux) to make the process easier and achieve a cleaner solder.
- Keep the Welder Clean: A clean soldering iron tip is essential for good heat transfer and to prevent solder contamination. Clean the tip regularly during the soldering process with a damp sponge or tip cleaner.
- Control the Temperature: The temperature of the soldering iron must be appropriate for the type of solder you are using. Too low a temperature will not melt the solder properly, while too high a temperature can damage parts or burn the flux.
- Apply Flux Sparingly: Flux is essential for good soldering, but using too much can leave residue that is difficult to clean and can damage the solder over time. Use only the amount needed to clean and prepare the surface.
- Check the Welding: Once the weld is complete, check that it is smooth and free of cracks. A good weld should be shiny and free of imperfections. If it is dull or grainy, it may be necessary to repeat the process.
- Protects the Finished Weld: After soldering, protect the joint from moisture and other contaminants. If the solder will be exposed, consider applying a protective coating, such as varnish or electrical tape, to prolong its durability.
Common Applications of Tin Soldering
Soldering is a versatile technique widely used in various fields, especially in electronics and repair. Below are some of the most common applications where knowing how to solder is essential:
- Electronics and Circuits: One of the most common applications of tin solder is in the creation and repair of electronic circuits. Tin is used to bond electronic components to printed circuit boards (PCBs), creating strong, long-lasting electrical connections.
- Cable Repair: Tin soldering is ideal for repairing electrical cables, as it provides a secure bond that restores circuit continuity. This technique is used in both domestic repairs and in industrial settings.
- Plumbing:Although less common, tin is also used in soldering copper pipes in plumbing applications. This technique is used to join pipes tightly and prevent leaks.
- Arts and Crafts:In the DIY and craft world, tin solder is used to create jewelry, metal figures, and other artistic projects. Tin is easy to work with, making it a popular material for these purposes.
- Appliance Repair: When an appliance fails due to an electrical problem, knowing how to solder tin may be the key to repairing damaged connections and returning the appliance to its functional state.
These applications demonstrate the versatility and importance of tin soldering in a variety of fields. Mastering this technique will allow you to tackle a wide range of projects with confidence.
Learn about our welding services
Do you need to take your welding projects to the next level? Perez Precision Works,We offer a full range of professional welding services, tailored to your specific needs. Whether you are looking for advice, complex project execution, or equipment maintenance, our team of experts is here to help.
Learn more about our services and discover how we can assist you at every stage of your welding project, ensuring the highest quality results.


